ZX9R E2 Six Pot Tokico Brake Caliper Rebuild
2001 KAWASAKI ZX-9R
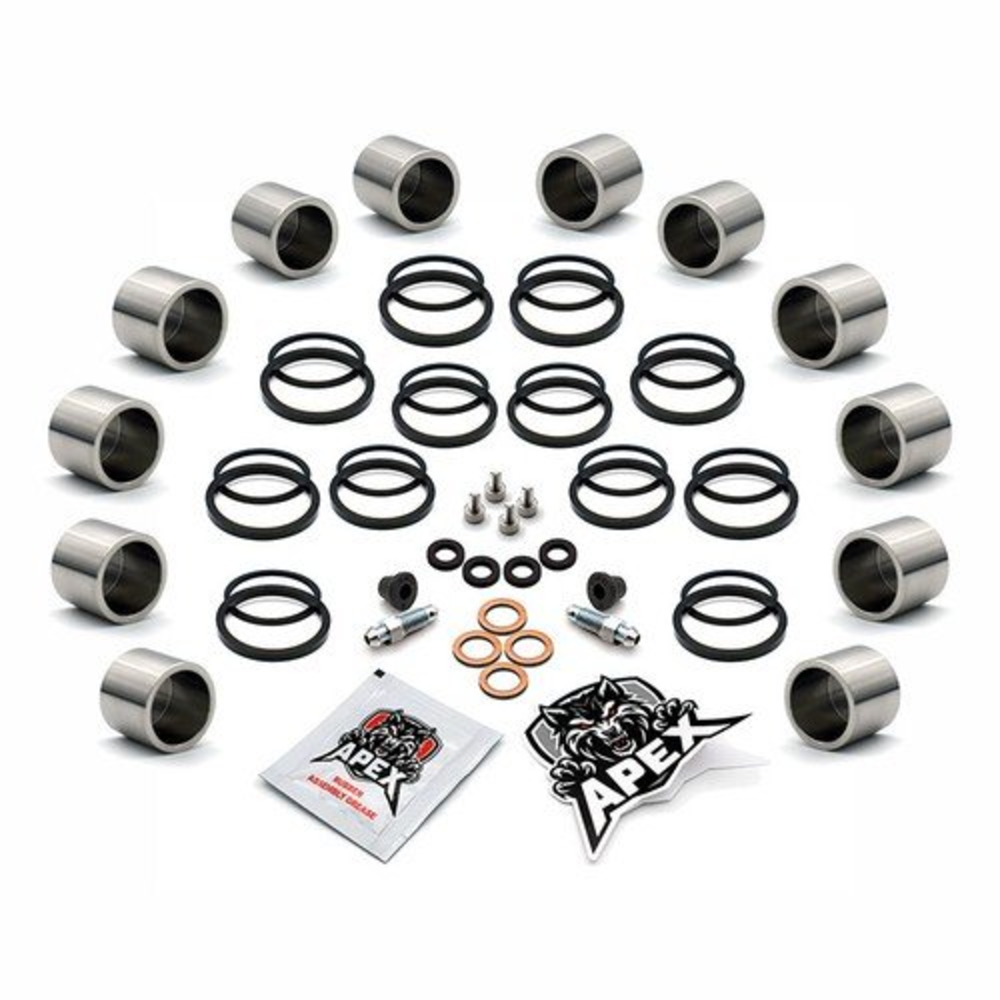
The first job is to order parts. For a complete rebuild I would advise a master cylinder rebuild kit and all the parts you need to rebuild the calipers. I bought new brake fluid (dot 4), a master cyclinder rebuild kit from Wemoto and the kit that Apex Braking list on ebay as "Kawasaki ZX9R Ninja E2 2001 front brake caliper piston seal kit stainless". This comes with all the seals and pistons you need. I also bought some new stainless bolts for joining the caliper halves together from Apex. You may not need all this and you can wait to see what state your pistons/bolts are in before committing to this spend. All together this cost about £200 but you can save a fair bit by not buying the pistons. Bear in mind though, if you have any corrosion on any of the pistons you should replace them or you'll just be doing this all again pretty soon.
The first step is to get the calipers ready for removal. I'd start by getting the pistons out as far as possible by using the front brake. The trick here is to get them to meet in the middle, pressing against a piece of thin stiff wood or metal. What you want to avoid is just pumping the brake lever, have one piston fall all the way out and then you lose pressure to remove the others. It's also a good idea to loosen the bolts holding the caliper halves together once you have moved the pistons out as far to the centre as you can. You can try and use compressed air to remove the pistons but this is less safe and frequently more dramatic.
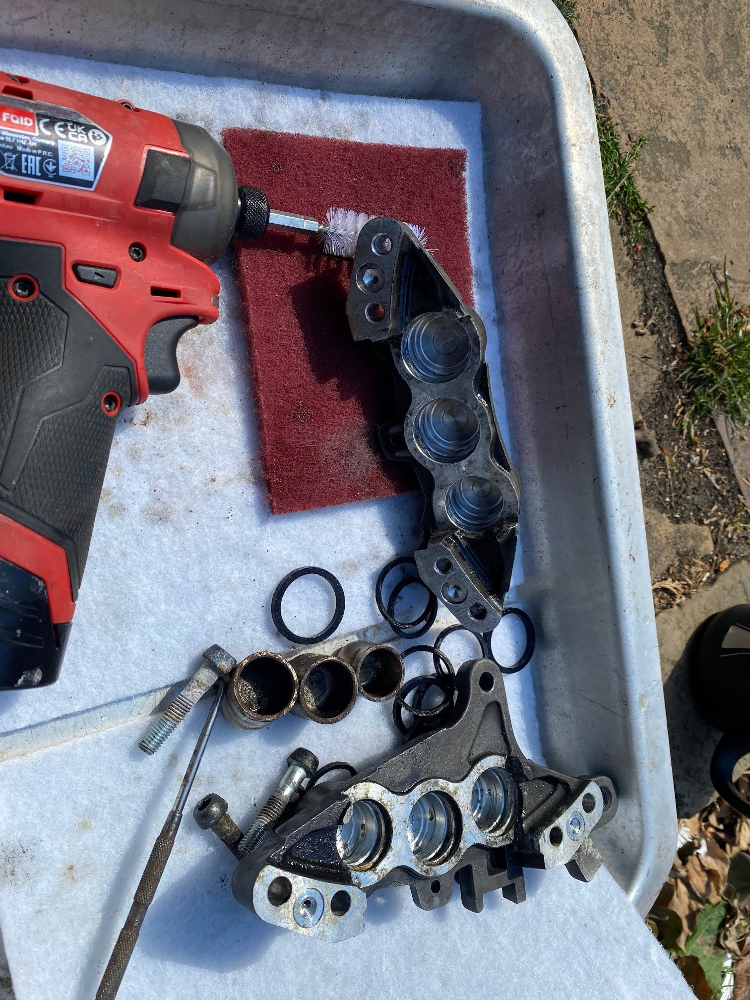
At this point you can drain all the old fluid out trying not to get it on any paint, your shoes, your phone, the dog etc. Then you can remove the calipers from the bike using penetrating fluid if you need it. Once you've done that you can start to disassemble the calipers. You need to unbolt the two sides of each caliper from each other and then ease the pistons out. You could use something like largish slip joint pliers to wriggle them out while protecting the pistons with something like rubber from an old inner tube or similar. If you're replacing the pistons with new ones then you can be less careful. You can use a pick to remove the old seals from the piston bores and from between the caliper halves. Lastly you can throughly clean the caliper halves and the pistons if you're reusing them. I used wd40 with a red scotch pad along with a nylon brush in a drill. Once you've cleaned all the surfaces then clean all the wd40 off with brake cleaner.
Reassemble using new seals but make sure that you wet the seals with brake fluid or any assembly fluid that was supplied with the kit. If you don't do this then you could displace or tear a seal as the piston pushes past it. Make sure that the orientation of the pistons is the same going in as the ones you took out. You can see them in place in the following picture along with the caliper body seals in place (circled in red).
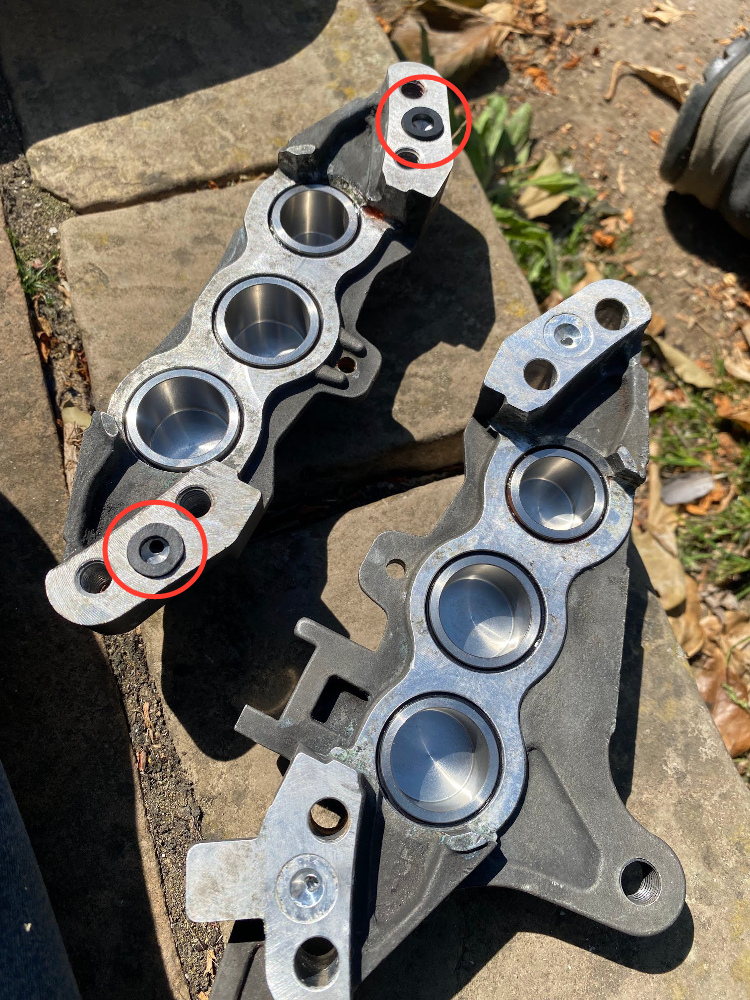
You need to be extremely careful that the caliper body seals stay in place as you attach the caliper halves together or they will leak. They must sit in the recesses on both halves of the caliper. You'll be annoyed as I was if you don't do this.
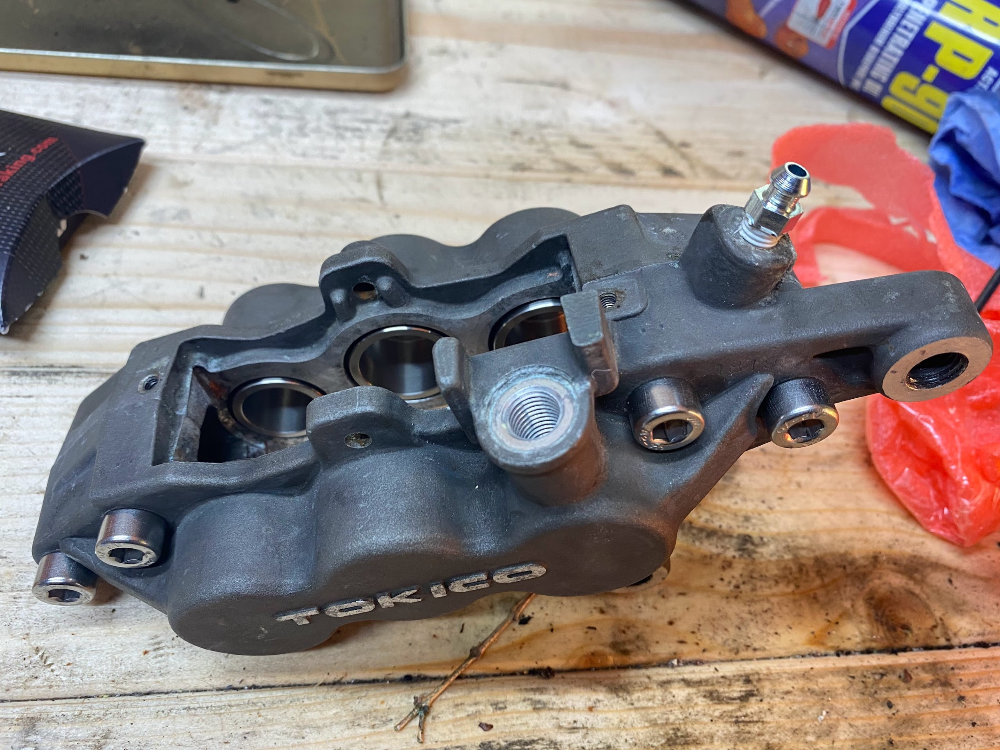
You can see above the rebuilt caliper. You may notice that there is ptfe tape on the bleed screw... this isn't to help it seal, this is to stop air being pulled past the thread so I can see when my vacuum bleeder has pulled all of the air from the caliper. Once reinstalled on the bike, you now move on to the master cylinder.
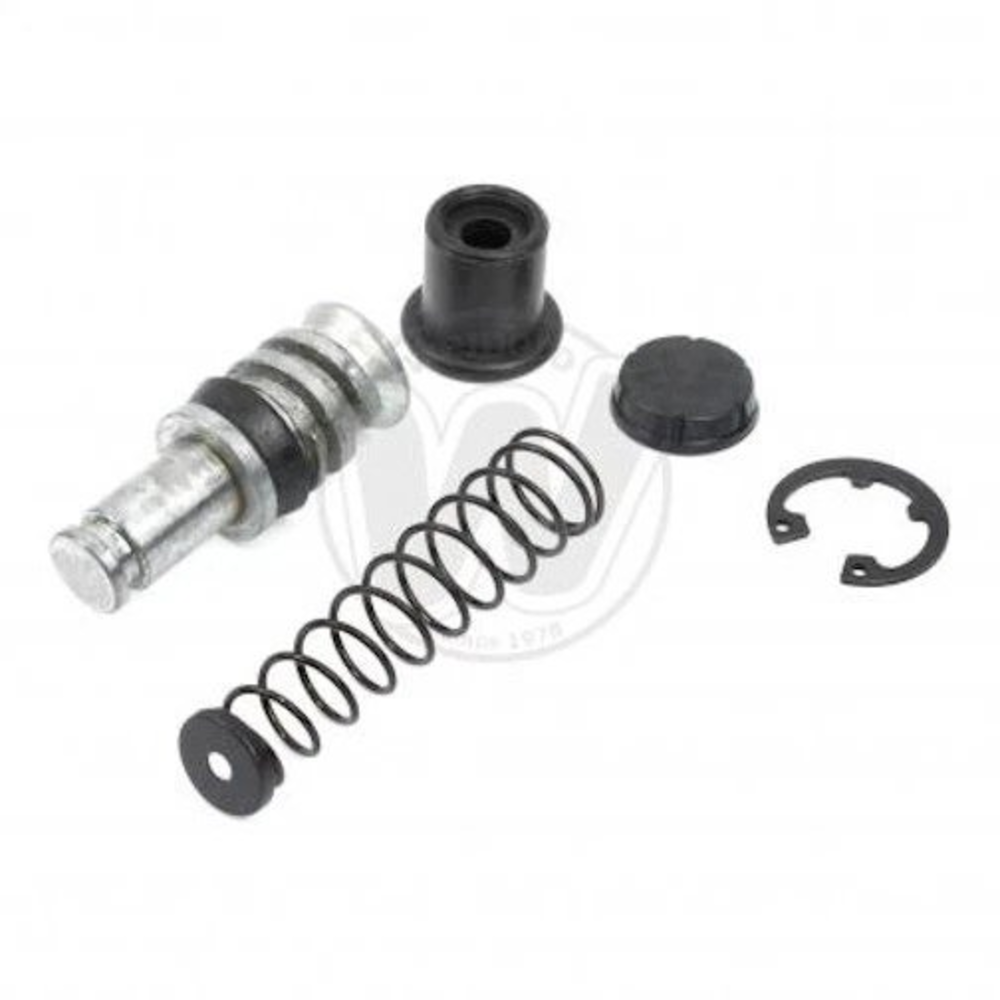
This is pretty straight forward but unfortunately I don't have any pictures of mine, just the kit (above). You will need to check how your master cylinder goes together but rebuilding mine was a case of removing the rubber boot, removing the circlip holding it together and then withdrawing the piston, spring and any spacers/seals remember the order in which they came out. Then insert the parts from the kit in the same order and reinstall the circlip and rubber boot. Use a smear of brake fluid as lubricant unless you kit comes with assembly fluid and then use that if it does so that you don't displace or tear the seals. Then reinstall it back on the bike making sure the the pin from the brake lever lines up correctly and there's a small amount of play so that you don't find you brake binding on. The lever probably won't feel great until you fill the system up and bleed it. So do that next using whatever method you favour.